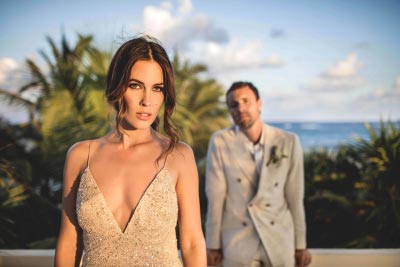
Hey there, fellow wedding photography enthusiasts! Let’s spill the beans on what really makes our snapshots go from good to unforgettable. You know, it’s not just about nailing that perfect shot on the big day; there’s a whole secret sauce to it – post-processing.
So, buckle up, because we’re about to take you on a ride into the magical world of post-processing. You know, that behind-the-scenes wizardry that turns a good photo into a jaw-dropping memory. We’ve been around the block a few times, and trust us, this is where the real magic happens.
The significance of post-processing
Now, post-processing is like the fairy godmother of wedding photography. It’s where we tweak and twirl things to make your photos truly shine. We’re talking exposure, color, contrast – the whole shebang. It’s not just a step; it’s the secret handshake that makes our albums stand out.
Let’s talk about color correction, the superhero of post-processing. Ever had a photo where the colors were a bit off? We’ve all been there. Especially in wedding photography, where you’ve got vibrant dresses and flowers stealing the show. We wave our magic editing wands to get that color balance just right, making sure the bride’s dress and the flowers pop like they did on the day.
And then, there’s retouching – the unsung hero. It’s like giving our photos a spa day. We smooth out imperfections, refine the skin, and kick out any unwanted guests in the background. But here’s the secret sauce – it’s all about keeping it real. No one wants a photo that looks like it went through a Photoshop tornado. Subtle and natural, that’s the name of the game.
By the way, if you’re planning your Cancun wedding photo shoots, our team specializes in capturing the essence of your special day against the backdrop of stunning Cancun scenery.
Mastering the Editing Tools
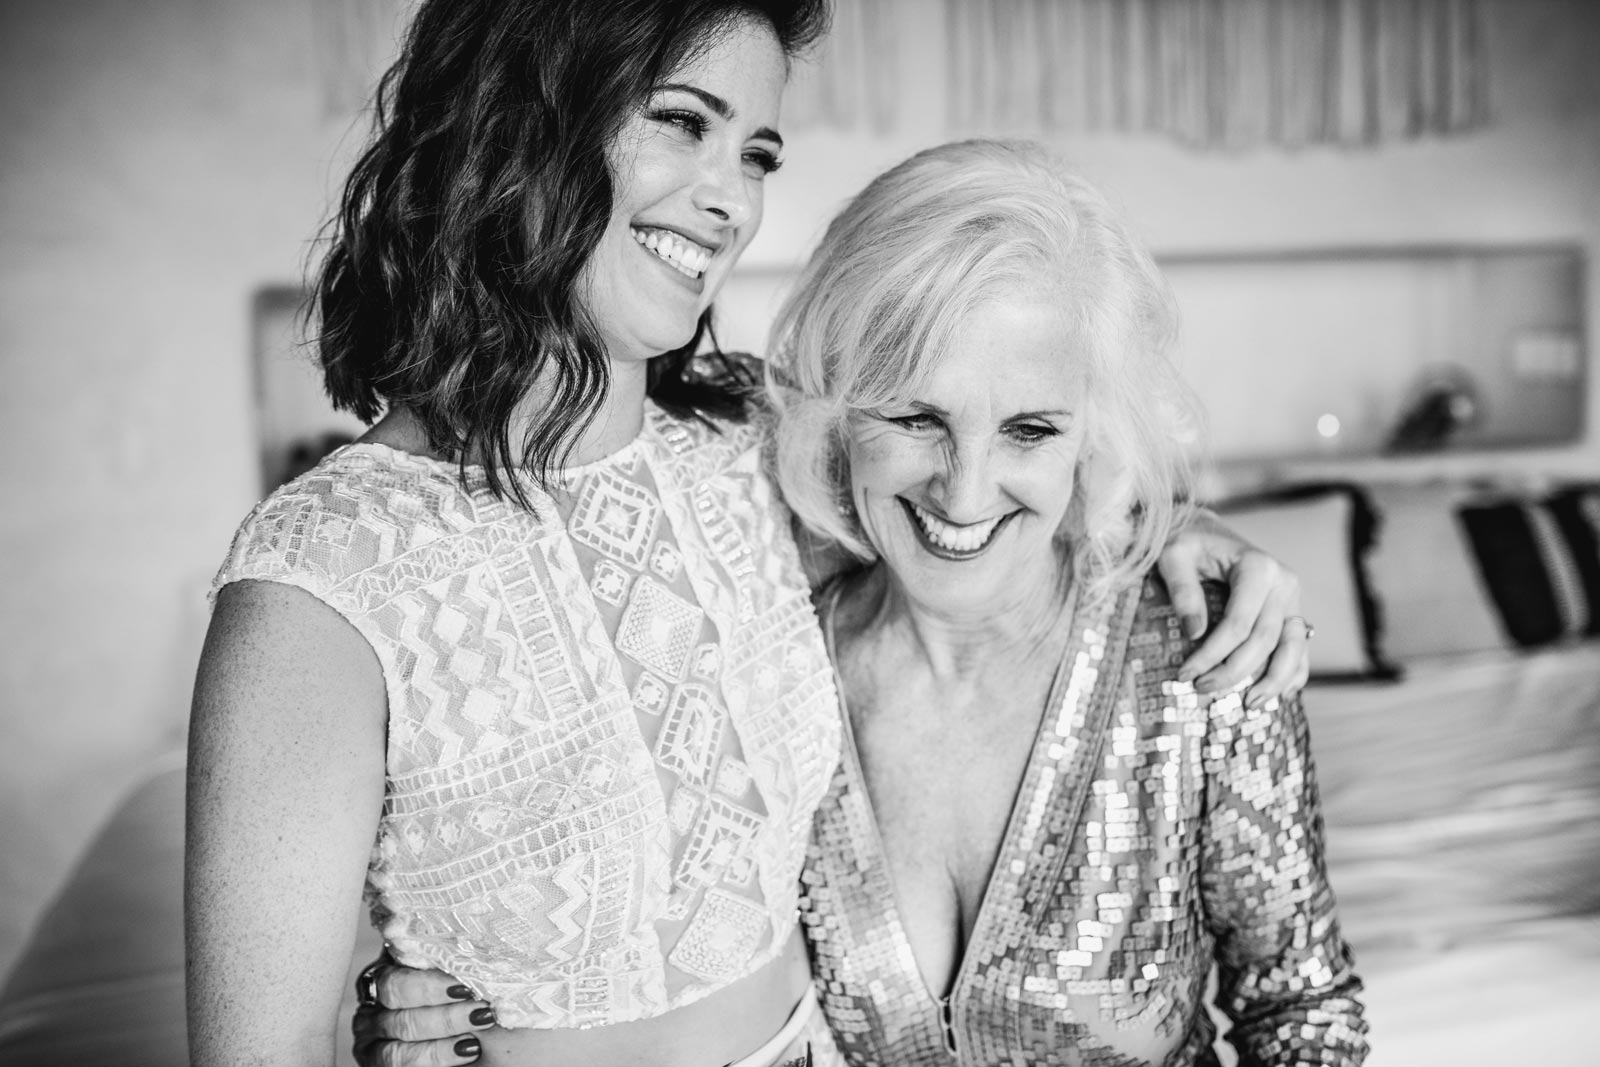
So, you want to be the superhero of wedding photography, right? Well, grab your capes, because Lightroom and Photoshop are our dynamic duo. Photoshop is our go-to for the nitty-gritty details, the fine-tuning, the superhero cape adjustments. Meanwhile, Lightroom is our sidekick, handling the big-picture stuff like color tweaks and exposure boosts. Combine these two, and voila! You’ve got a masterpiece in the making.
Keeping It Consistent, Keeping It Cool
Picture this: a wedding album that tells a story as cohesive as your grandma’s quilt. How do we achieve that? By giving every photo a little bit of the same lovin’. We tweak the colors and exposures so that each shot plays well with its neighbors. Result? A jaw-dropping, unified masterpiece that leaves everyone swooning.
Easy on the Editing Gas Pedal
Now, here’s a nugget of wisdom – less is more. Resist the urge to go all Picasso on those photos. Too much editing can turn a beautiful moment into something that looks like it’s from another dimension. We’re all about keeping it real and authentic. Let the photos breathe a bit, and they’ll thank you for it.
RAW Magic
Alright, buckle up for some camera geek talk! RAW files are like the secret sauce of wedding photography. Why? Well, for starters, they’re like a color explosion compared to JPEGs. We’ve got more tones than a Shakespearean play, baby!
Plus, with RAW, we’re the maestros of white balance. No need to decide on the spot – we can tweak it later and make sure those colors pop like confetti.
And let’s not forget the noise reduction dance. With RAW, we’re the DJs controlling the noise levels. JPEGs? Not so much. We keep the details sharp and the noise minimal, just the way we (and our clients) like it.
Oh, and did we mention the superhero move of recovering details from tricky lighting situations? RAW files give us the power to be the light and shadow whisperers.
Editing Photos Like Pros
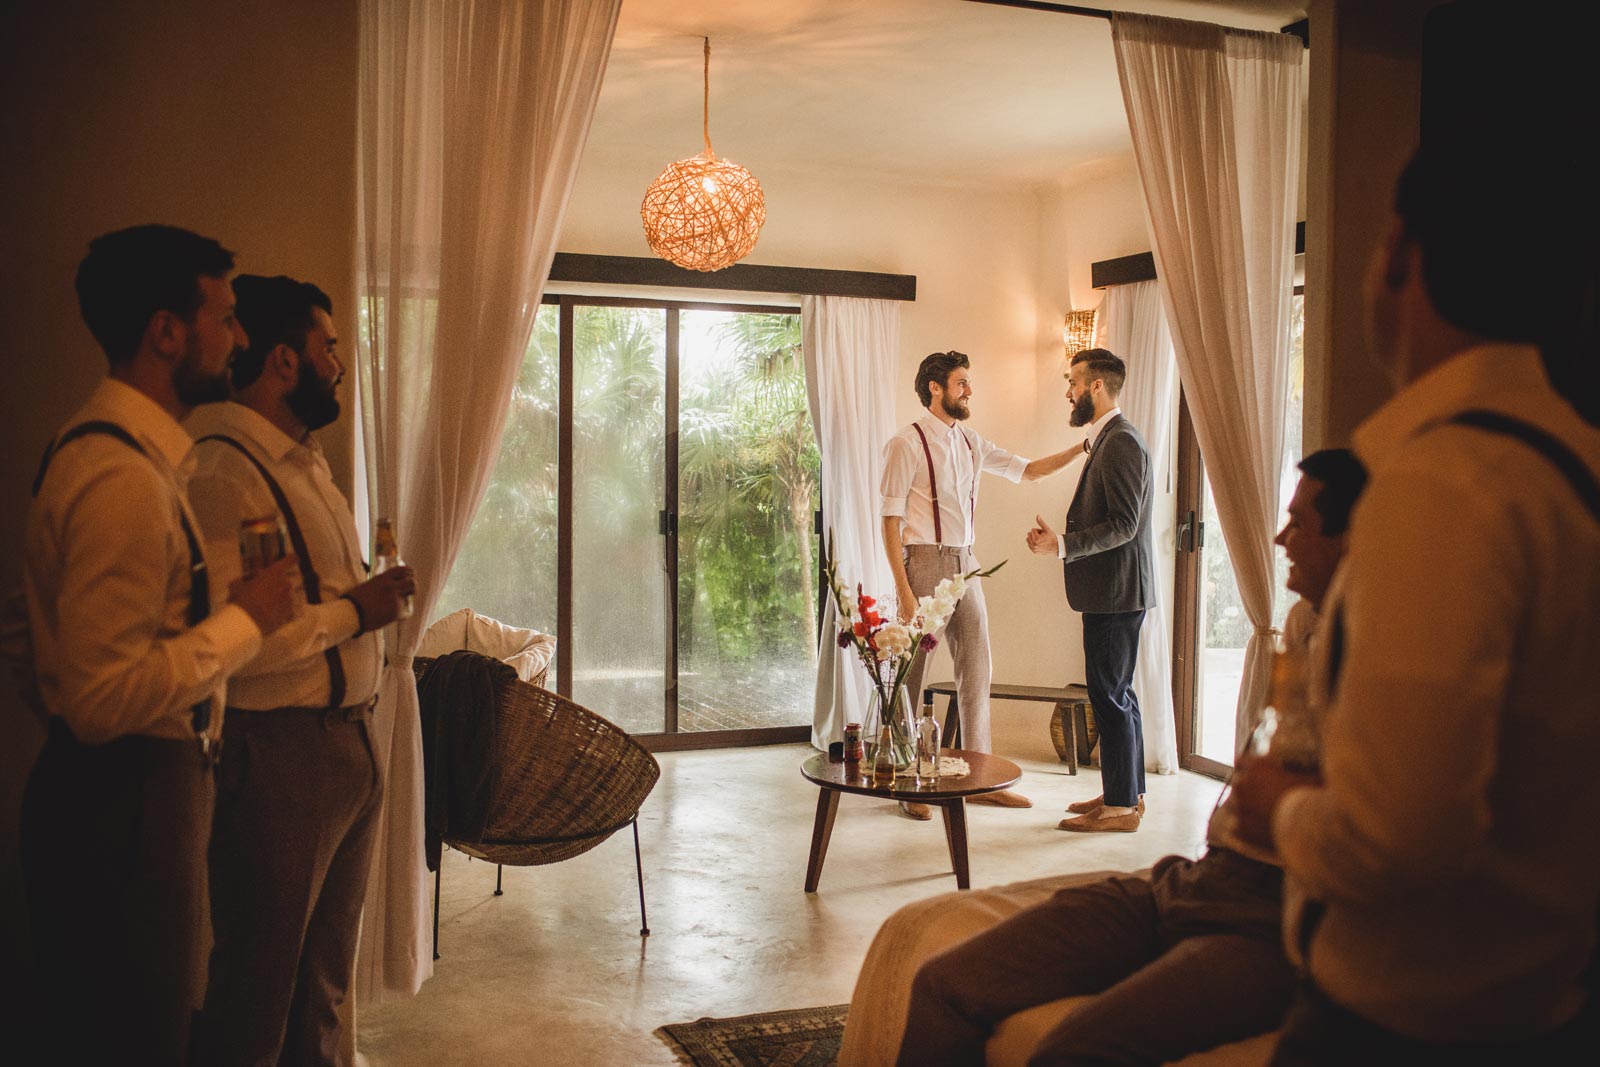
Hey folks! So, you’ve captured some epic shots, and now it’s time to work some magic in post-processing. Here’s how we jazz up our photos:
1. Broad Strokes First: We kick things off by tweaking the basics – white balance, exposure, and color correction. Gotta keep those colors poppin’! We rely on the histogram and color temperature sliders to make sure everything’s on point.
2. Spice It Up with Clarity and Contrast: To make our images really sizzle, we dial up the clarity and contrast. But hey, easy on the contrast – too much can turn your masterpiece into a sci-fi flick.
3. Blemishes, Be Gone! Time to play dermatologist. We zap away any blemishes or unwanted bits with the trusty spot removal tool.
4. Fine-Tune with Brushes: For those delicate touch-ups, like brightening or darkening specific spots, we bust out the brush tool.
5. Go Gradient or Go Home: Adding a little oomph to the background? Slap on a gradient or radial filter for that extra flair.
6. Clone Away the Last Stragglers: Any lingering imperfections get the boot with the clone tool. Sayonara, unwanted elements!
7. Sharpen Up: We dial in the sharpness and noise reduction settings to get that crisp, detailed look.
8. Vignettes for Drama: For a touch of drama, we use the vignette tool. Darkening those edges helps steer eyeballs toward the main event.
9. Crop It Like It’s Hot: Time to trim the fat! We use the crop tool to frame things up just right.
10. Export and Voilà! Hit that export button, choose your resolution and file format, and boom – you’ve got yourself a masterpiece!
Remember, peeps, these steps are like our secret sauce, but everyone’s got their own flavor.
Skin Retouching Unveiled
Alright, let’s dive into the nitty-gritty of skin retouching – the secret sauce for a polished wedding snap.
1. Blemish Begone: First things first, zap away those blemishes with the spot removal or clone tool. It’s like magic for your subject’s skin.
2. Brush it Off: Now, let’s get detailed. Use that brush tool to smooth out the rough spots – redness, wrinkles, you name it. But hey, don’t go overboard; nobody wants a plastic look.
3. Color Me Beautiful: Skin looking a bit off-color? Time to fix that. Adjust the warmth with the color temperature slider and overall color with the balance slider. It’s like giving your subject a mini makeover.
4. Clone for the Win: Got some stubborn imperfections left? Clone tool to the rescue. Smooth things out, but remember, subtlety is the key.
5. Respect the Client Vibes: Not everyone wants airbrushed perfection. Some clients dig that natural vibe, so always respect their groove.
High-end retouching on demand
Guess what? You can totally ask for retouches once you’ve got your final snaps. We get it, some shots might need that extra oomph, and we’re here to make it happen. We’ve got this awesome retouching policy in our contract – it spills the beans on what’s included in your package and what might need a little extra love (aka, an additional fee).
From fixing those little blemishes to smoothing out the skin, basic retouching is often on the house. But, if you’re thinking major body shaping or changing up the background, we might have to slide a little something extra into the mix. No biggie, just keeping it real.
Time is of the Essence
We know you’re excited to show off your photos, and we’re just as pumped! Setting a deadline for the retouching is key. We’ll keep you in the loop throughout the process to make sure you’re totally jazzed about the final product.
But hey, patience is a virtue, right? Retouching takes time, and we want to make sure it’s done right. So, let’s chat about the timeline and make sure we’re all on the same page.
Let’s Talk Time and Money
Now, we know you want those pics to be perfect, and we do too. But let’s be real about the time and effort that goes into retouching. If your wish list is a mile long, we might need to have a heart-to-heart about time and expenses. We want you to fully appreciate the artistry behind the process, and that means being upfront about the costs.
RIVIERA MAYA WEDDING PHOTOGRAPHY
Would you like to contact us?
