Cancun Wedding Photographer
LET'S EXPERIENCE BEAUTY
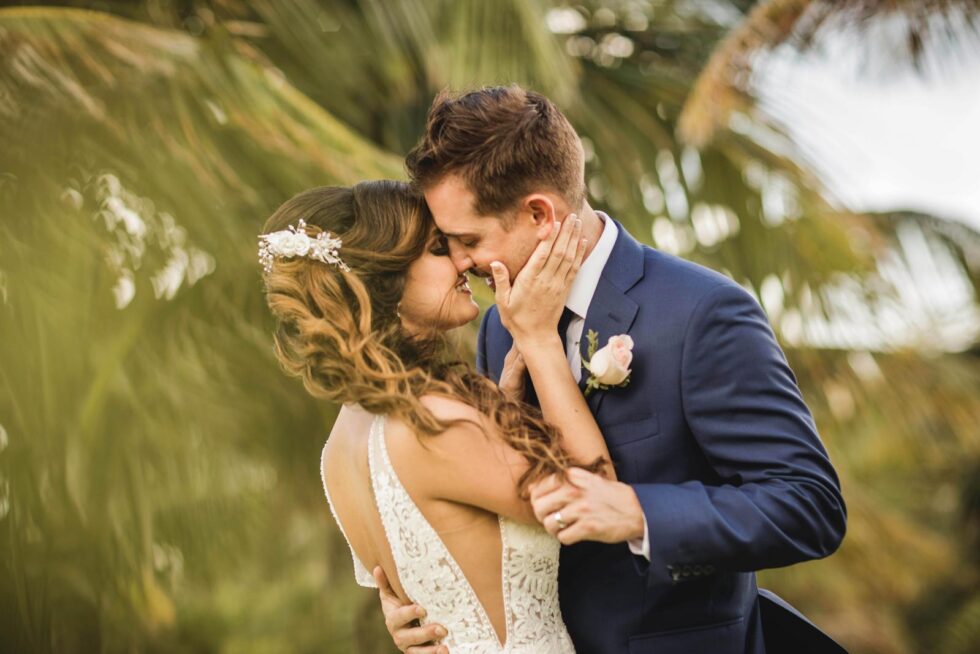
Discover the artistry of Adrian Bonet, a renowned wedding photographer in Cancun, offering unparalleled fine art photography and top-notch services to capture your special day.
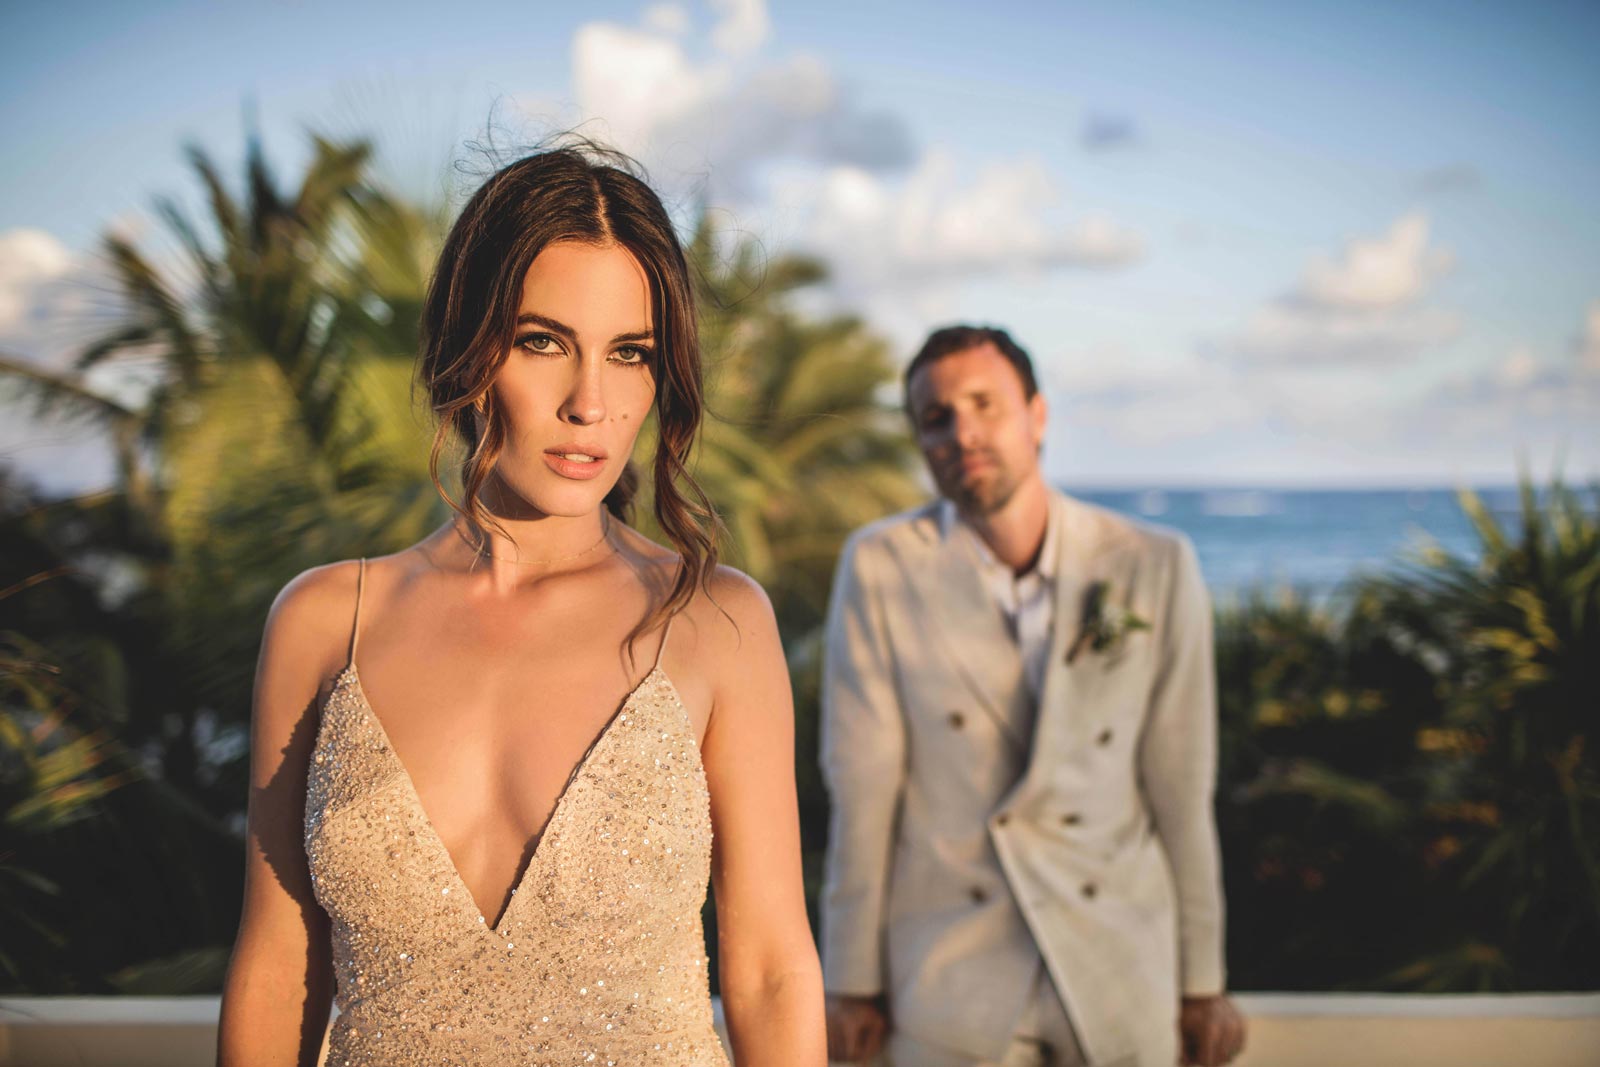
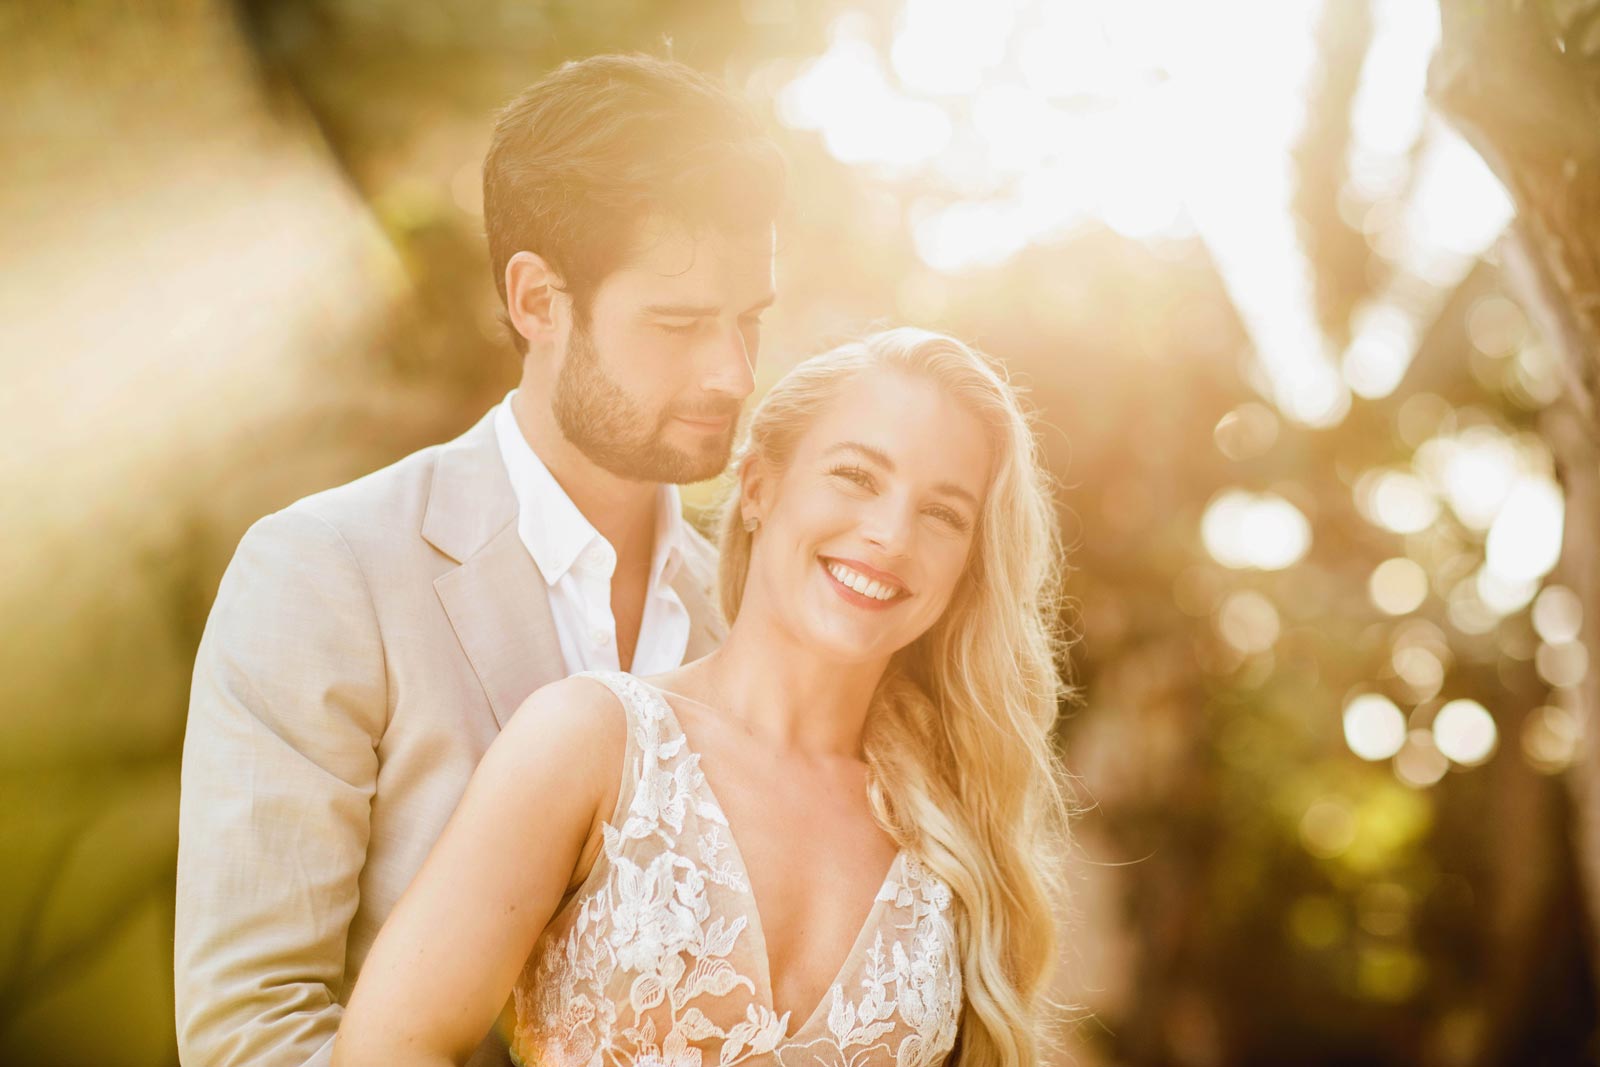
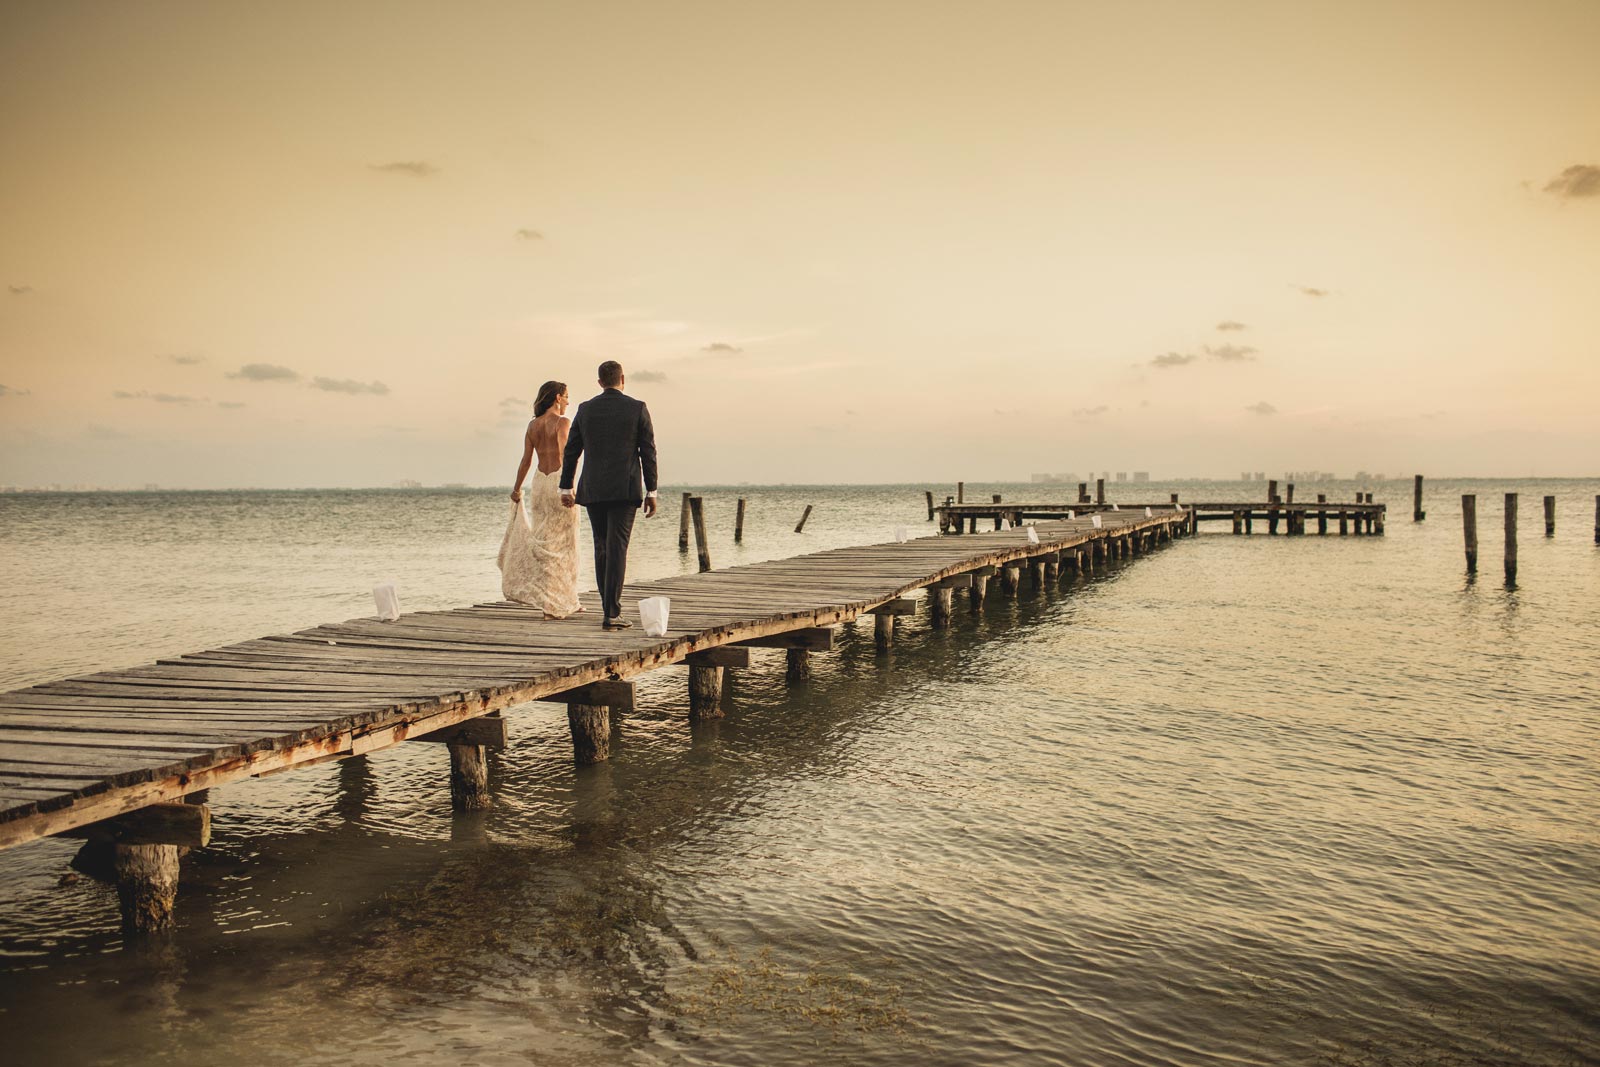
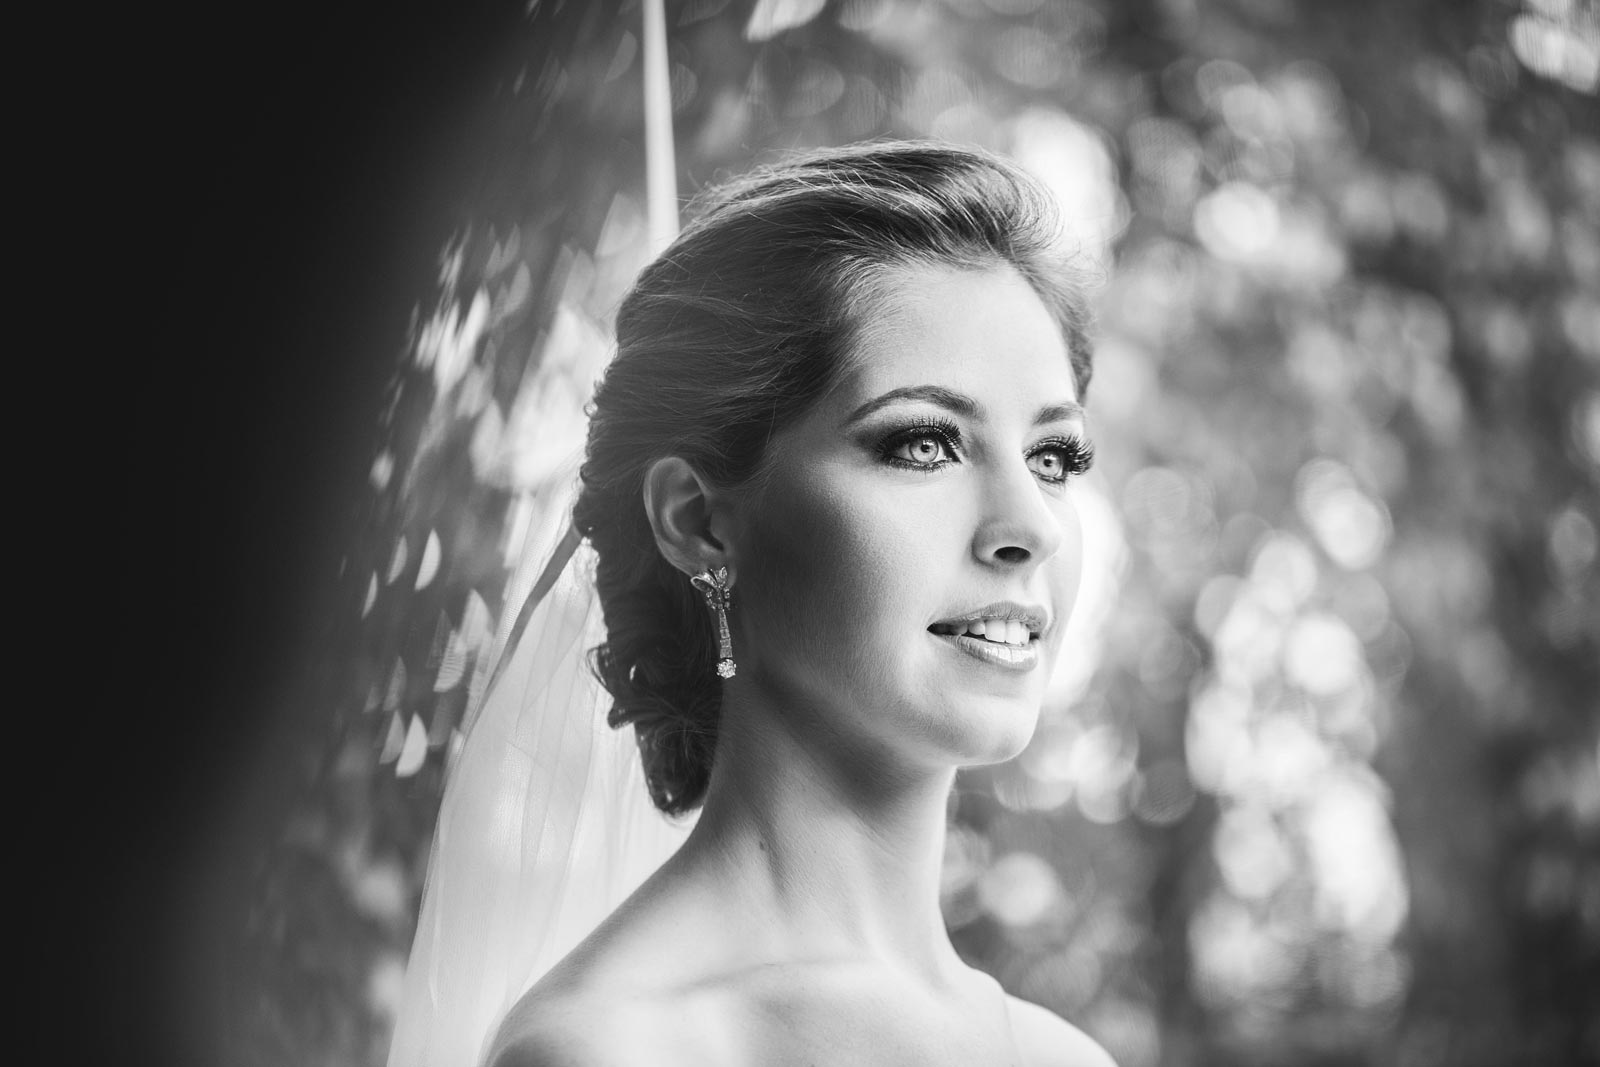
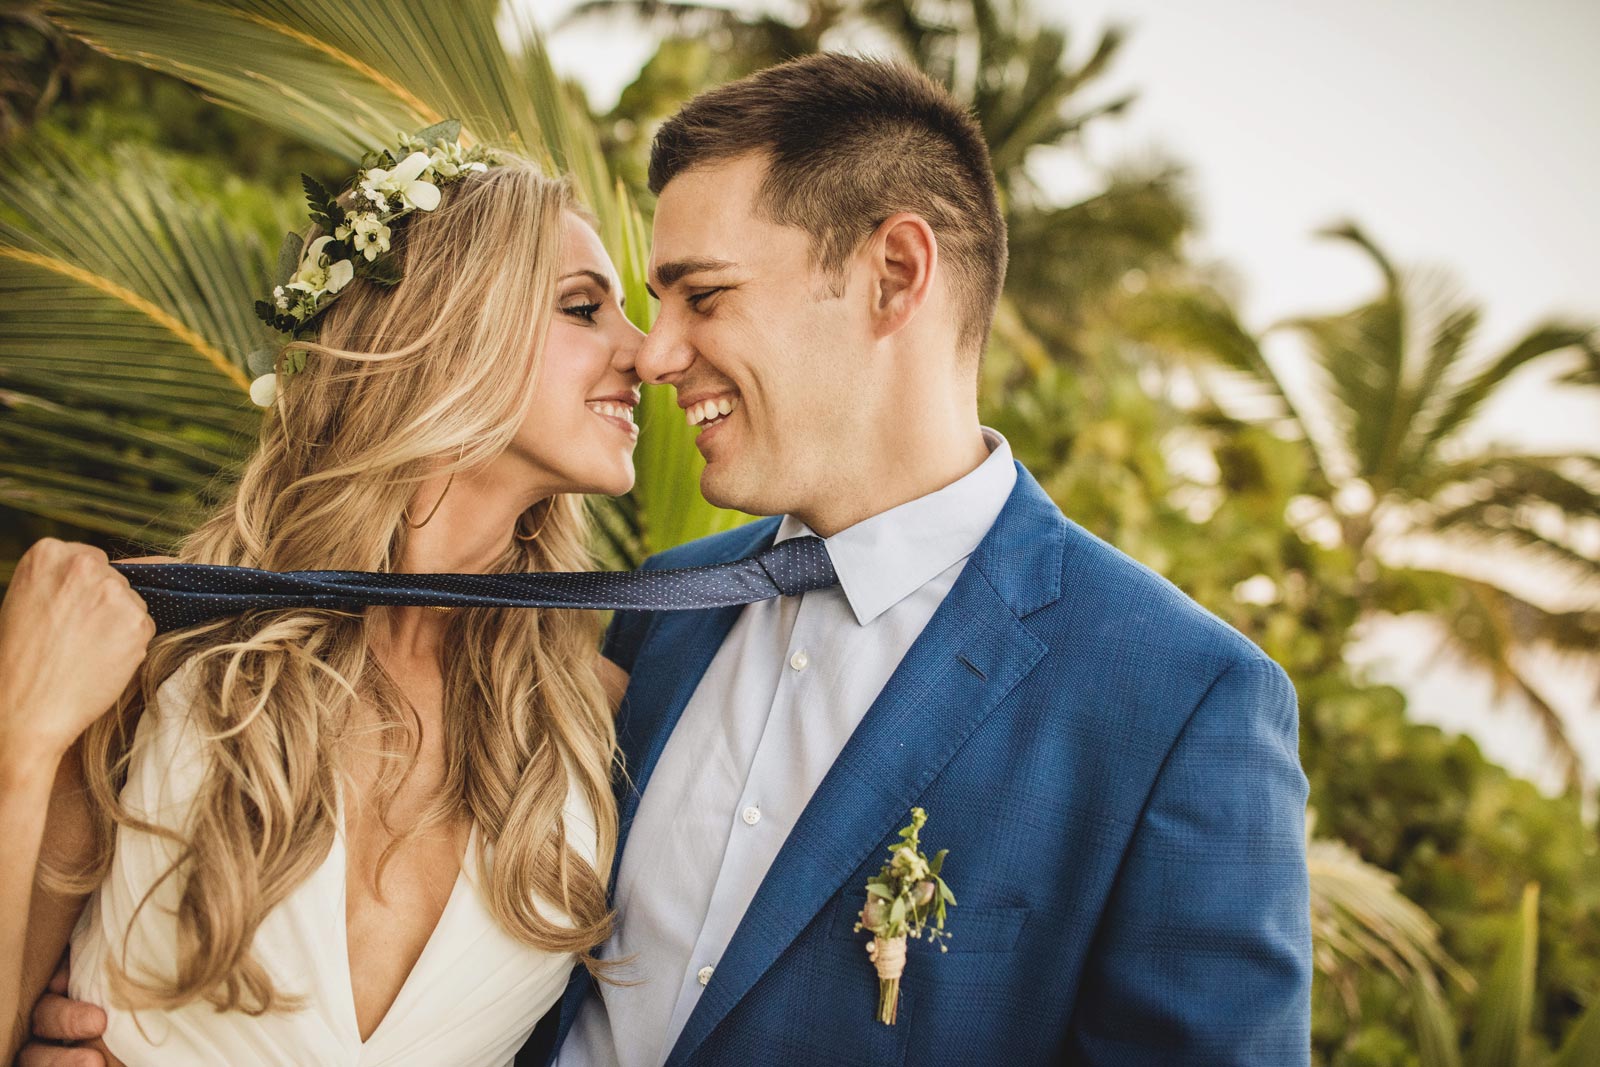

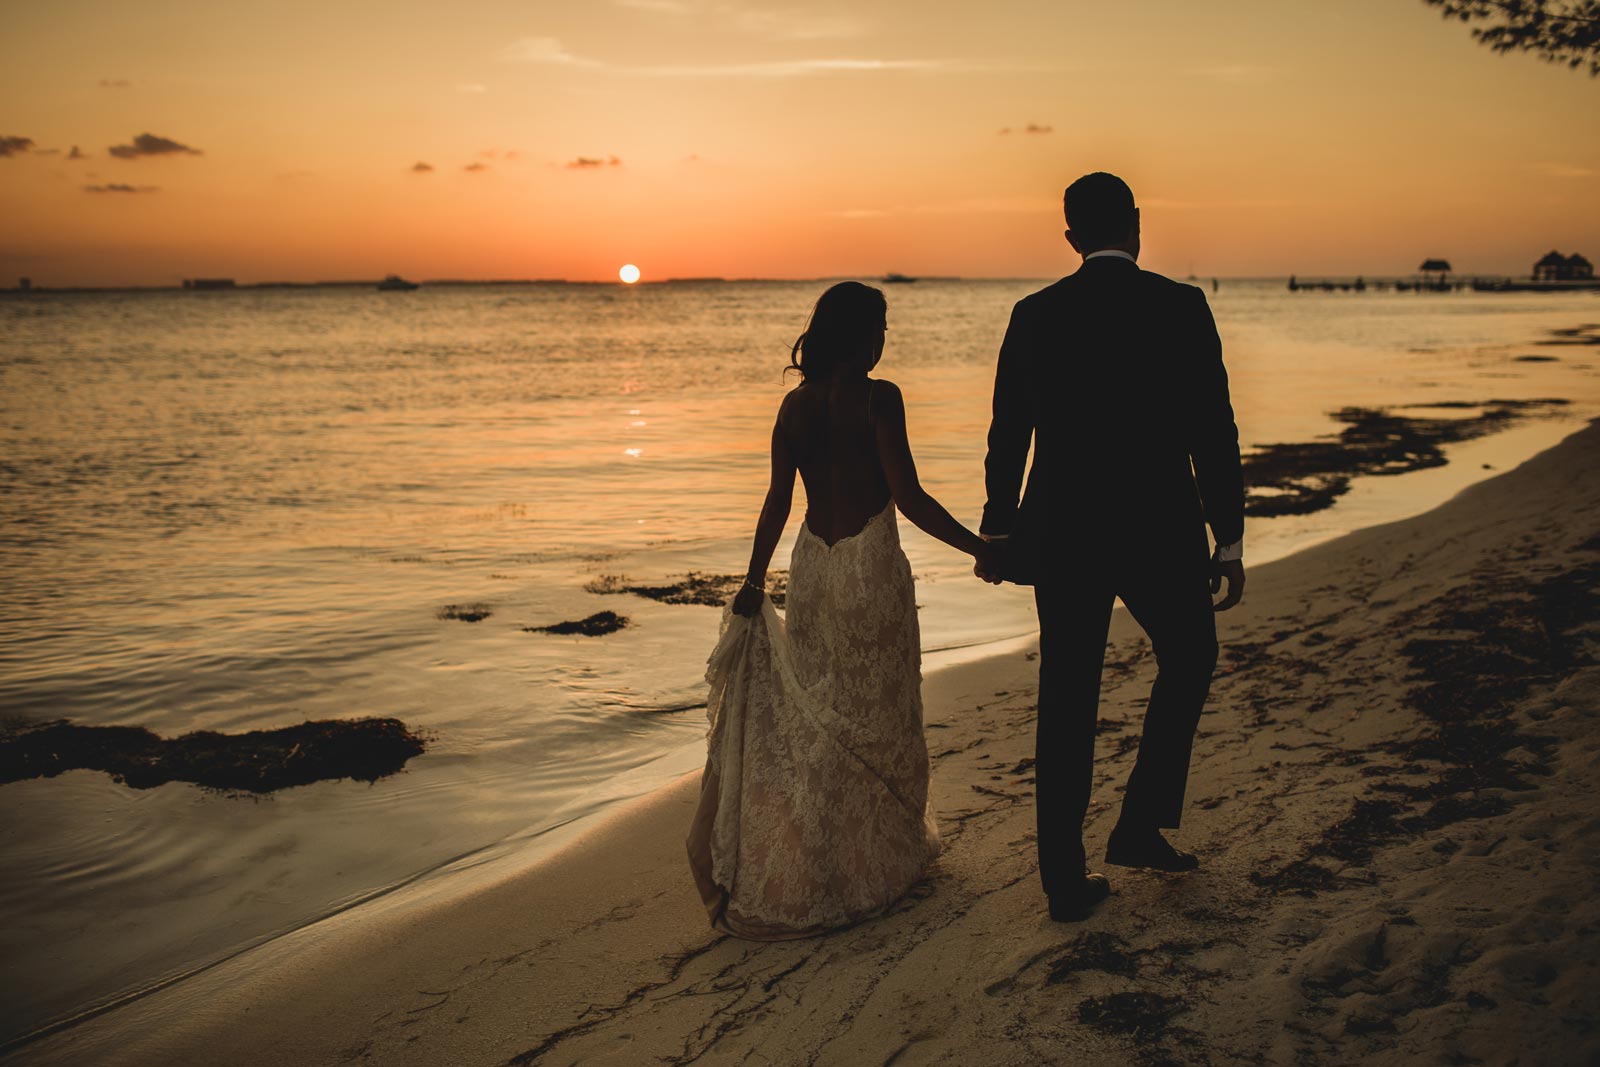
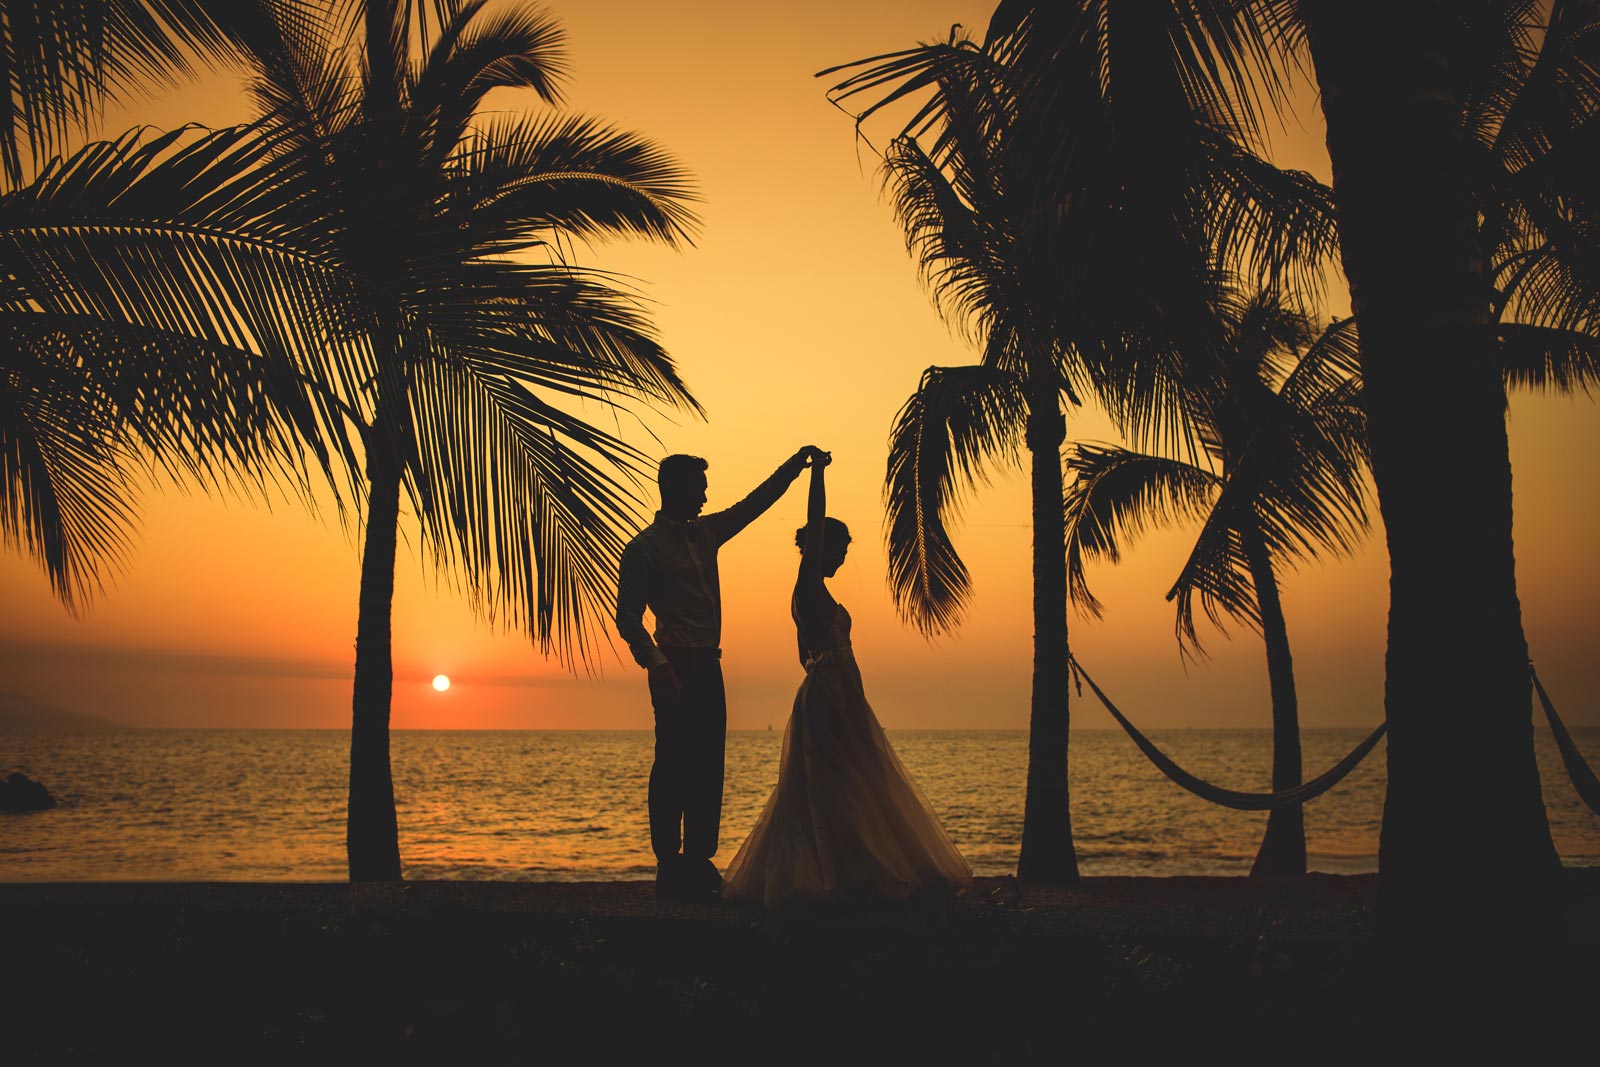
As a premier Cancun wedding photographer, I specialize in documenting every intimate detail and grand moment of your destination celebration. Whether you’re planning a lavish beach ceremony or an intimate celebration in a luxury resort, my goal is to transform your memories into timeless works of art.
Why Choose a Cancun Wedding Photographer?
Local Expertise & Unmatched Beauty
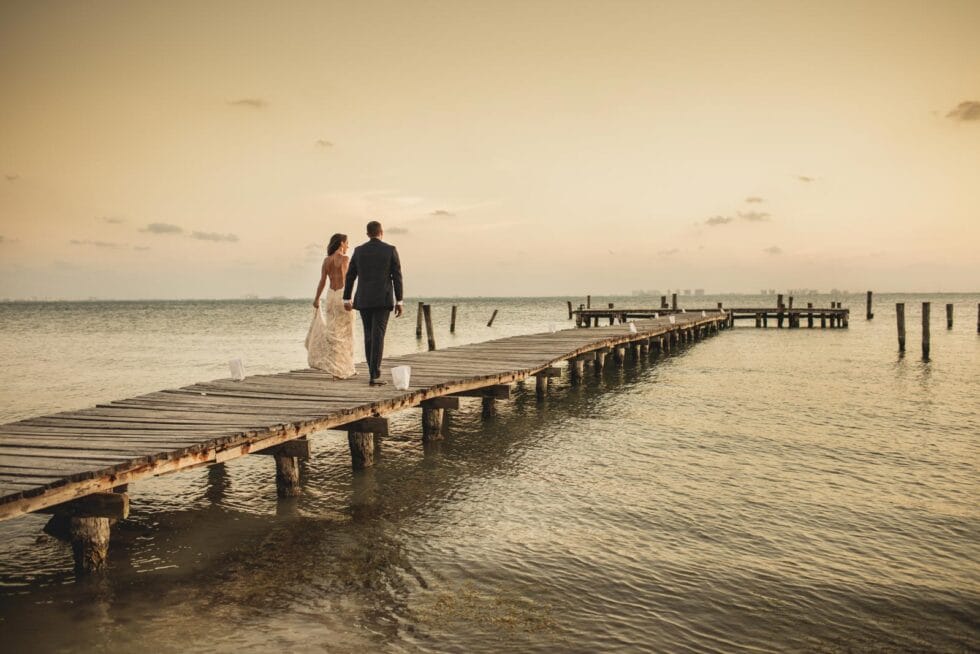
Cancun offers a stunning backdrop that blends turquoise waters, pristine white sands, and vibrant cultural touches. With intimate local knowledge, I know the best locations, lighting conditions, and hidden gems to elevate your wedding photos.
Personalized Service
Every couple’s love story is unique. I take the time to understand your vision and tailor my approach to reflect your personality. From engagement sessions to the final day-of coverage, I work closely with you to ensure that each photograph is as authentic and special as your journey together.
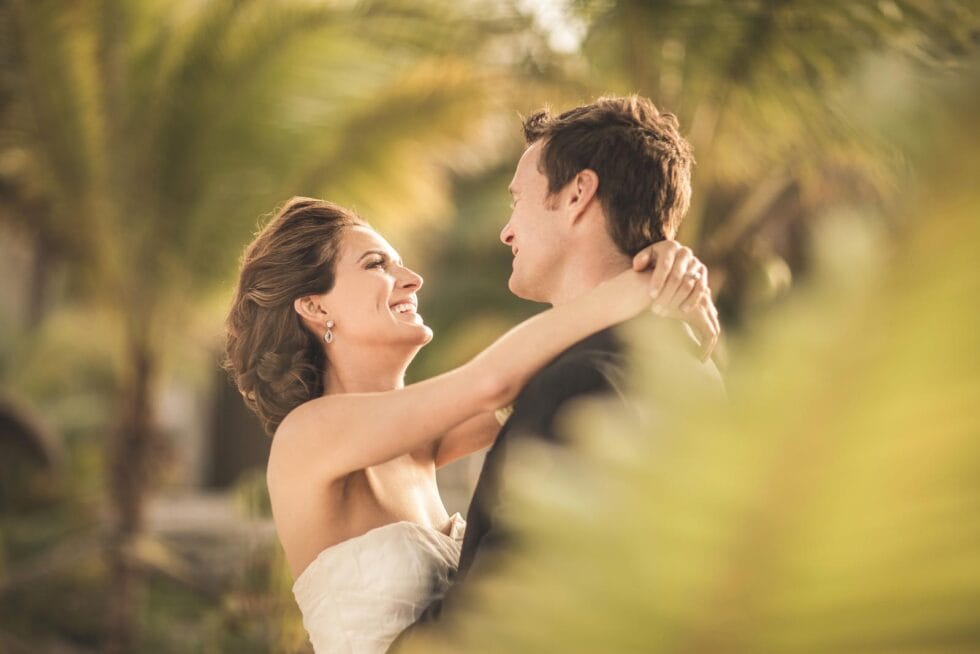
Professional Quality & Creative Storytelling
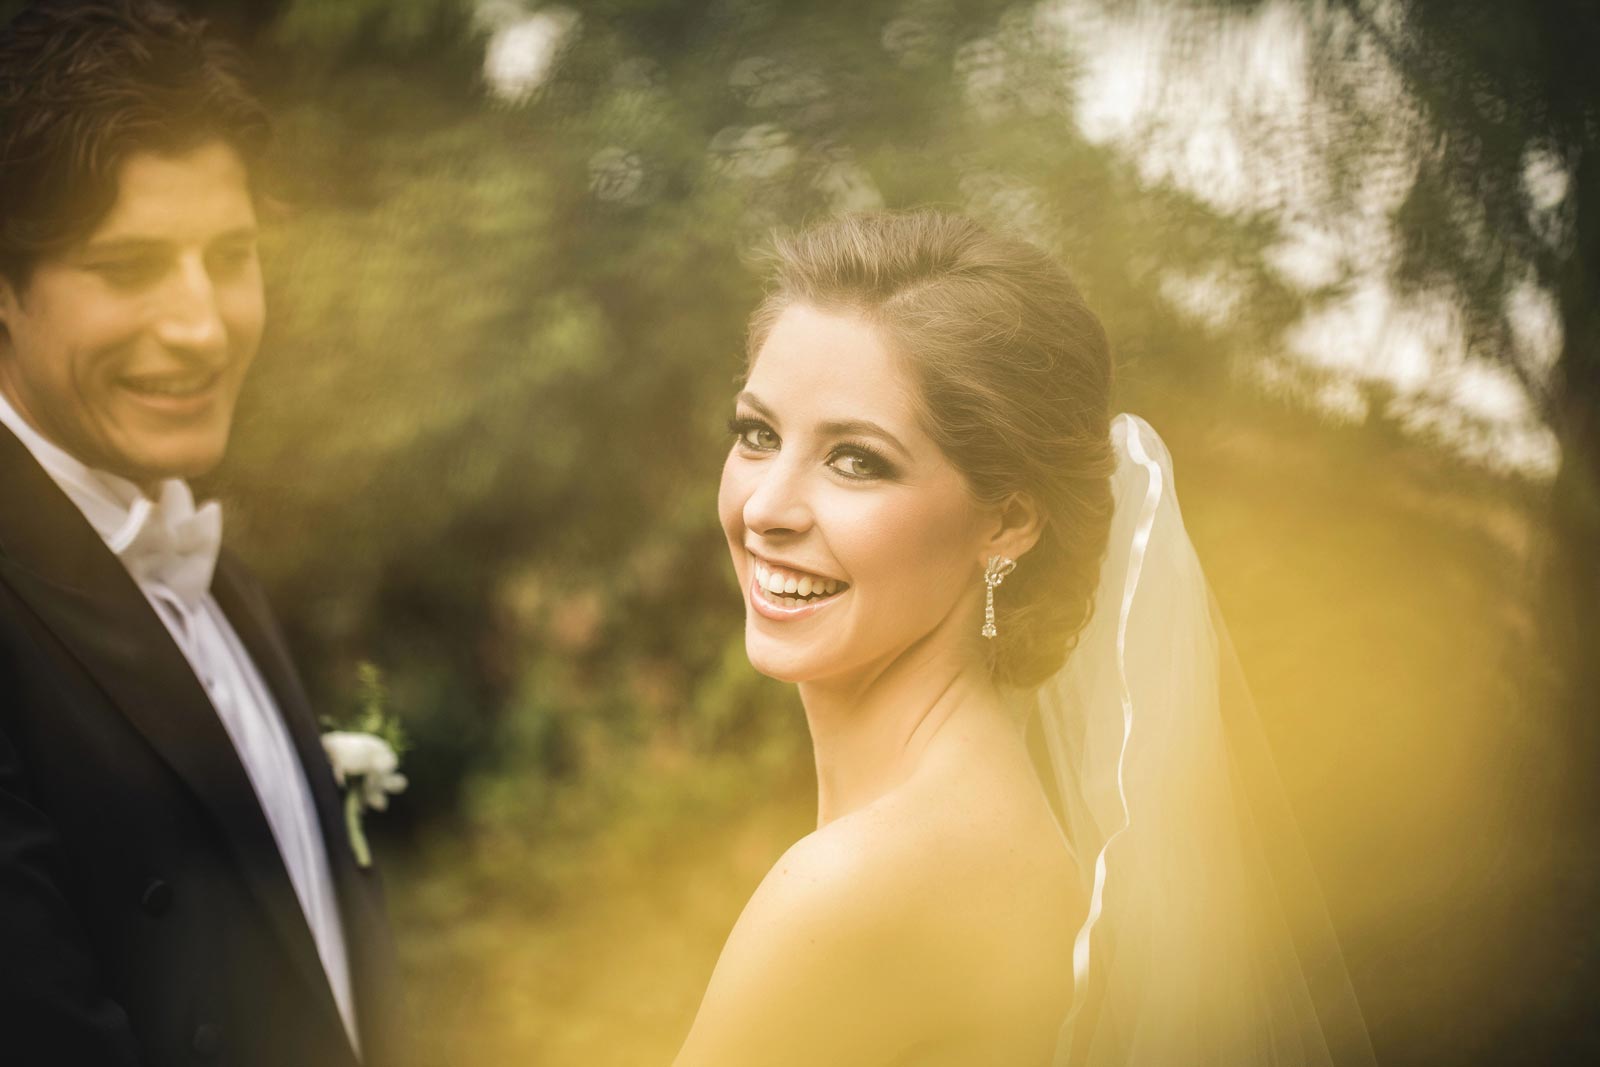
Utilizing the latest photography techniques and high-end equipment, I capture the emotion, excitement, and magic of your wedding day. My creative style combines natural, candid moments with artistic compositions, resulting in a visual narrative that tells your story beautifully.
Wedding Photography Services
Full-Day Wedding Coverage
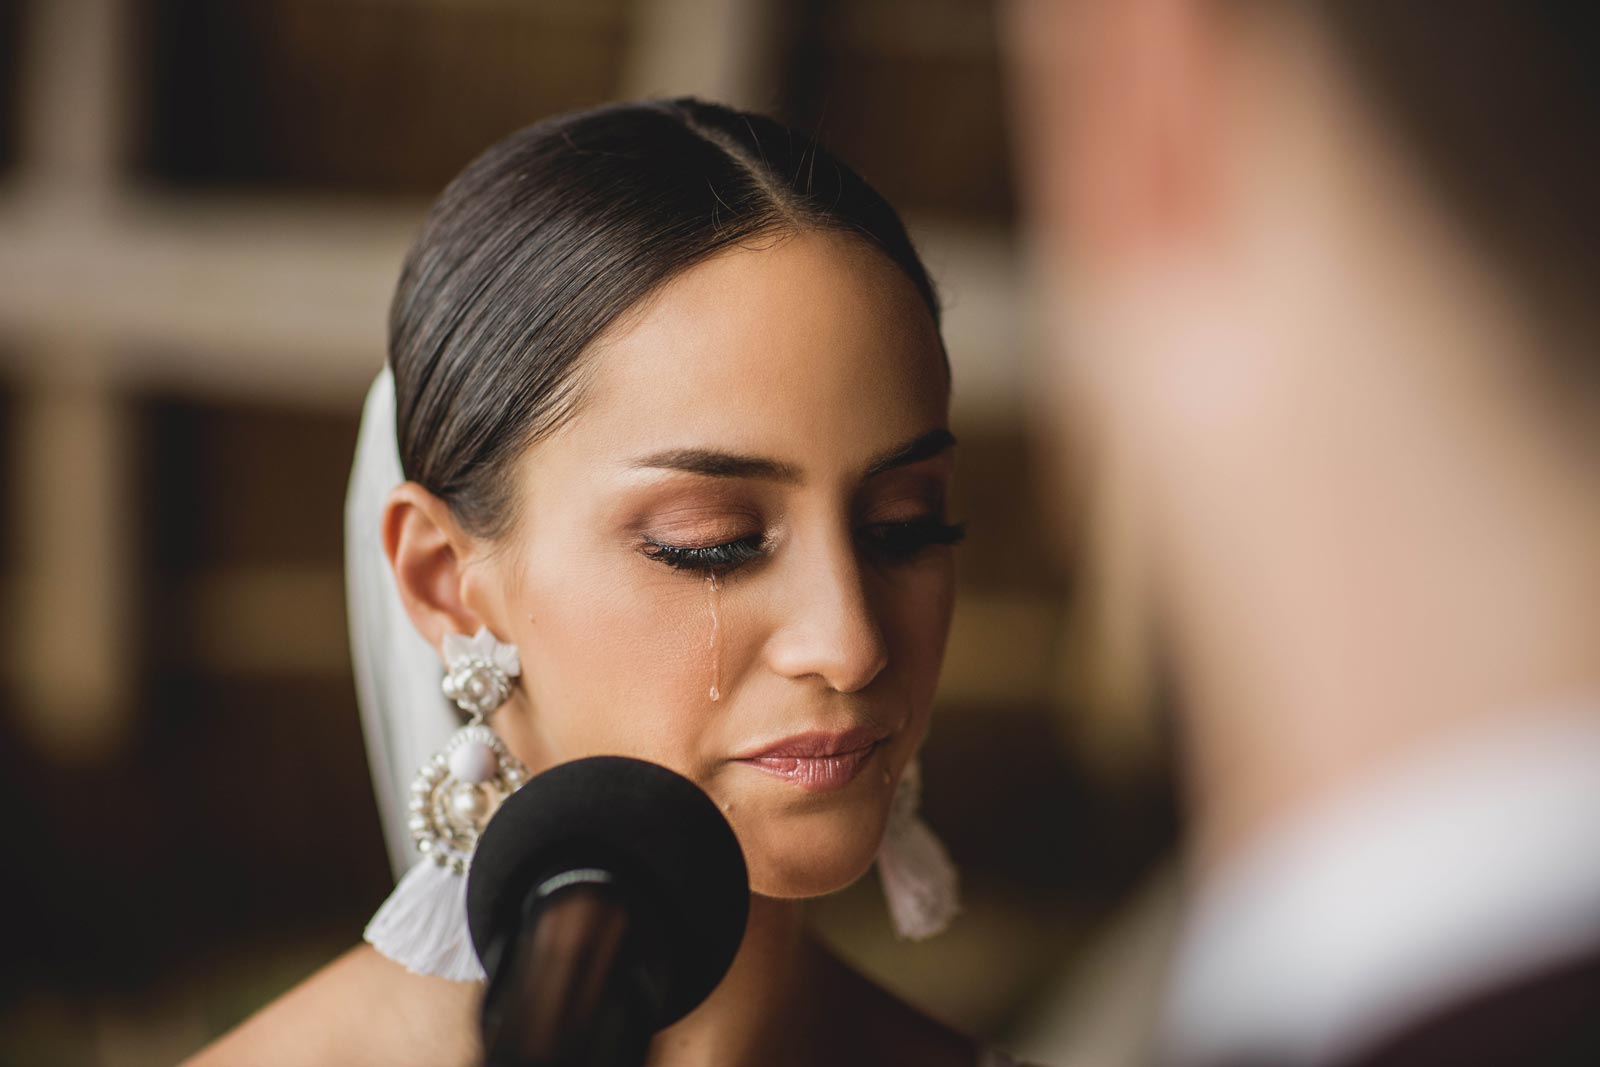
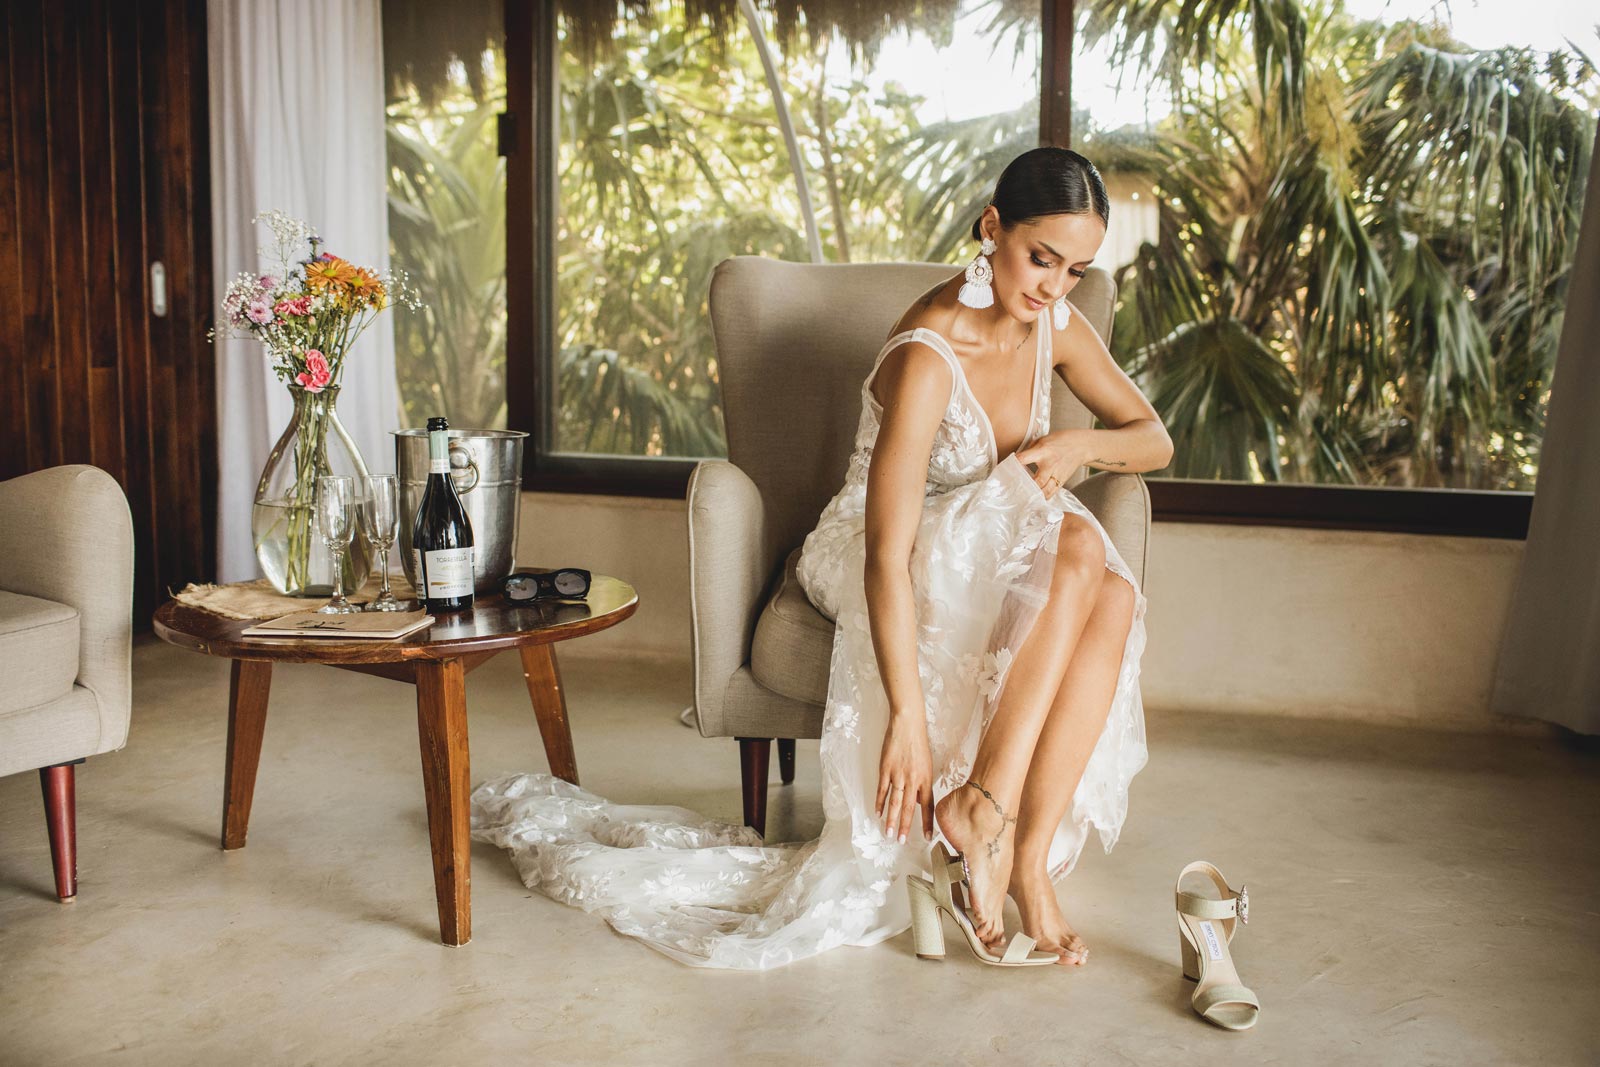
Experience comprehensive coverage of your entire day—from the anticipation of the morning preparations to the excitement of the evening celebrations. Every smile, tear, and joyful embrace is captured with precision and care.
Engagement & Pre-Wedding Sessions
Celebrate your love before the big day with a relaxed, fun engagement session. These sessions are designed to showcase your chemistry in Cancun’s breathtaking settings, providing you with a collection of stunning images that are perfect for save-the-date cards, invitations, and personal keepsakes.
Destination Wedding Packages
Planning a destination wedding in Cancun should be as stress-free as possible. I offer customizable wedding photography packages that cater to your specific needs and budget, ensuring that your entire experience is seamless and unforgettable.
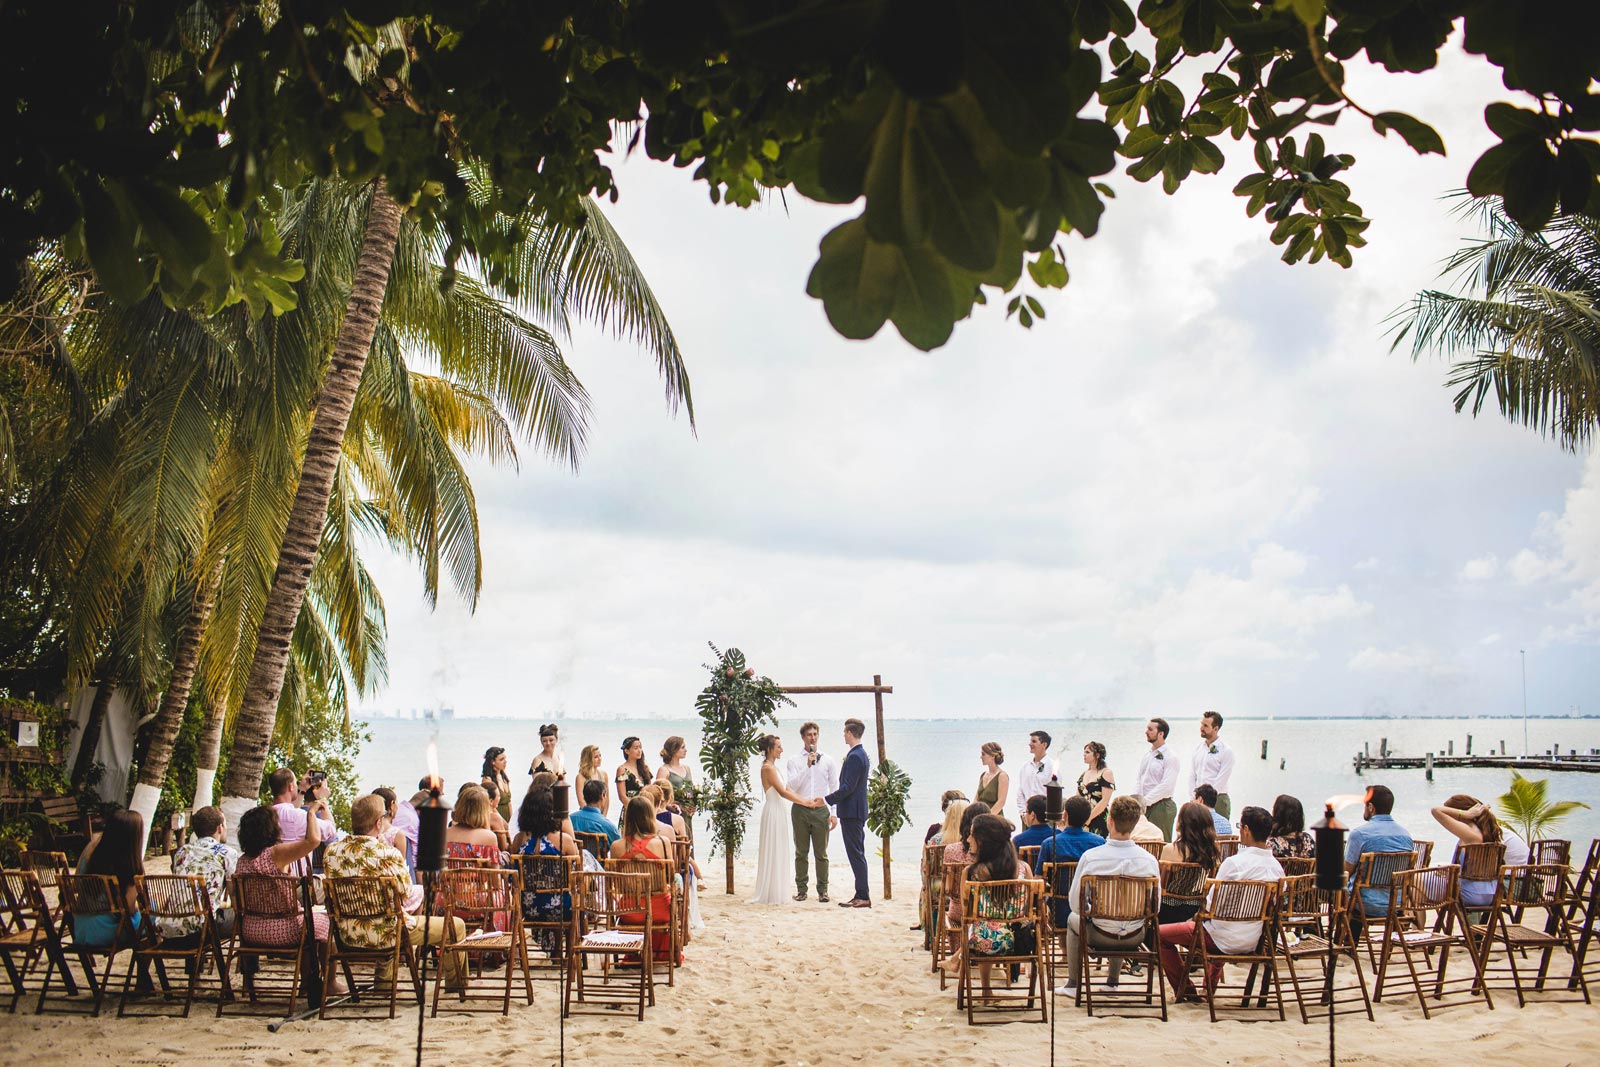
Wedding Photography at Dreams Riviera Cancun & Playa del Secreto
Kathryn and Jack decided to have us as their wedding photographers, and they went all in with a full 10-hour photo shoot! It was smack-dab in the heart of February when we joined them at the Dreams Riviera Cancun Resort. The whole shebang went down at this super...
Wedding Photography at Royalton Riviera Cancun
Stephanie and Matthew had us as their trusty wedding photographers, and they went all-in for the 8-hour photo session. Oh boy, it was a March to remember! They were getting ready at the fancy Royalton Riviera Cancun Resort, and we were there to capture every moment....
Wedding Photography at Zama Beach Club, Isla Mujeres
Matt and Melinda chose us to capture their big day, and they went all-in with an 8-hour photo shoot. The wedding happened in May, which, in our book, is prime wedding season! The bride and groom were all excited, getting prepped in their hotel rooms at the fancy...
CANCUN WEDDING PHOTOGRAPHER
“Every love story is a masterpiece, and my lens is the brush that captures its essence—authentic, timeless, and cherished for generations.”
ADRIAN BONET.
I am Adrian Bonet, an accomplished professional photographer.
My journey into the world of photography began in 2006 when I founded a renowned advertising photography firm in Barcelona, Spain. Initially specializing in portrait and fashion photography, I partnered with prestigious corporations and advertising agencies.
Over time, my passion for wedding photography grew exponentially, compelling me to pursue a career in this fascinating field. I began capturing timeless moments outside the city in 2008, gaining international recognition for my exceptional wedding photography.
I relocated to Mexico in 2013 to fulfill my lifelong ambition of photographing outstanding weddings. Since then, I have conducted numerous photo shoots in renowned locations, touring Mexico from north to south.
Personal note: My travels have taken me to various continents, including North America, Europe, Africa, and Asia.
I derive immense pleasure from music, films, art, and literature, but my true passion is photography. The ability to capture and preserve the ephemeral beauty of a fleeting moment inspires me ceaselessly.
I currently reside in Playa del Carmen, Riviera Maya, and I am devoted to capturing the essence of destination weddings for couples from all over the world!

Distinctive Photography Style
My wedding photography style is rooted in Creative Wedding Photojournalism, combining the authenticity of documentary photography with the artistry of portraiture. This approach creates a visual narrative that captures the true essence of your special day, telling your story in a way that feels both genuine and timeless.
In my documentary work, I focus on capturing moments as they naturally unfold. I avoid posed or staged scenes, instead prioritizing real emotions and authentic interactions. By taking a hands-off approach, I let events flow organically, ensuring that every image reflects the raw beauty and spontaneity of your wedding day.
At the same time, I bring an artistic touch to my portraits. Using elements like lighting, composition, and color, I craft images that go beyond documenting the moment. These portraits capture the deeper emotions and connections, creating stunning visuals that feel like works of art.
My style balances candid storytelling with artistic refinement. I aim to document unfiltered moments of laughter and love while also creating beautifully composed portraits. Together, these elements form a complete visual story that preserves your wedding day as an unforgettable and emotional experience.
TOP WEDDING PHOTOGRAPHER
An award-winning photographer, recognized by leading associations and prestigious publications in the industry.


FAQ: Professional Wedding Photographer in Cancun
What makes Cancun a unique location for marriage celebrations?
Cancun is renowned for its breathtaking beaches, turquoise waters, and vibrant nightlife, making it a fantastic backdrop for photography. The area offers a mix of luxury resorts, picturesque beaches, and cultural sites, providing diverse settings that cater to various themes and styles. Cancun’s modern amenities and natural beauty allow couples to create a personalized celebration that reflects their unique love story, whether they prefer a glamorous or an intimate ceremony by the sea.
How do you approach capturing weddings in Cancun?
My approach to capturing weddings in Cancun focuses on storytelling and authenticity. I aim to capture genuine emotions, candid moments, and the unique personalities of each couple against the stunning backdrop of Cancun. By utilizing the natural light and diverse landscapes, I create images that are both artistic and timeless. My goal is to ensure that every photo reflects the love and joy of the day, allowing couples to relive their special moments for years to come.
What services do you offer for destination weddings in Cancun?
I offer a comprehensive range of services tailored to meet the needs of couples planning destination weddings in Cancun. These services include full-day coverage, engagement photo sessions, pre-wedding consultations, and custom photo albums. My packages are customizable, ensuring that every couple receives a personalized experience that aligns with their vision and budget.
How can we ensure a smooth photography experience on our big day?
To ensure a smooth photography experience, I recommend creating a detailed timeline that includes specific moments you want to be captured. Communication is key, so I encourage you to share your preferences and any unique ideas you have for your photos. I also suggest scheduling a pre-wedding consultation with me to discuss your vision and any logistical details. Relax and enjoy your day; the more comfortable you feel, the more natural and beautiful your photos will be.
How long does it take to receive our photos, and in what format are they delivered?
You can typically expect to receive your photos within 6-8 weeks after your big day. I take great care in editing each image to ensure the highest quality. The final collection will be delivered in a private online gallery, where you can easily view, download, and share your photos. I also offer options for prints and custom photo albums, so you can cherish your memories in both digital and physical formats.
What are your pricing packages, and what do they include?
My starting price is $3000 USD for 6 hours of coverage, with an additional cost of $500 USD per hour. Each package can be customized based on the couple’s needs and includes a variety of services such as engagement sessions, custom photo albums, and online galleries for easy sharing and downloading. Please take a look at my price list here.